You've decided to install solar and a home battery - smart move. You're about to take control of your energy costs, reduce your reliance on the grid, and start earning from renewables instead of just using them. But what actually happens next?
Here's a step-by-step breakdown of the full solar and battery installation process, so you know exactly what to expect, and how to set yourself up for maximum value from day one.
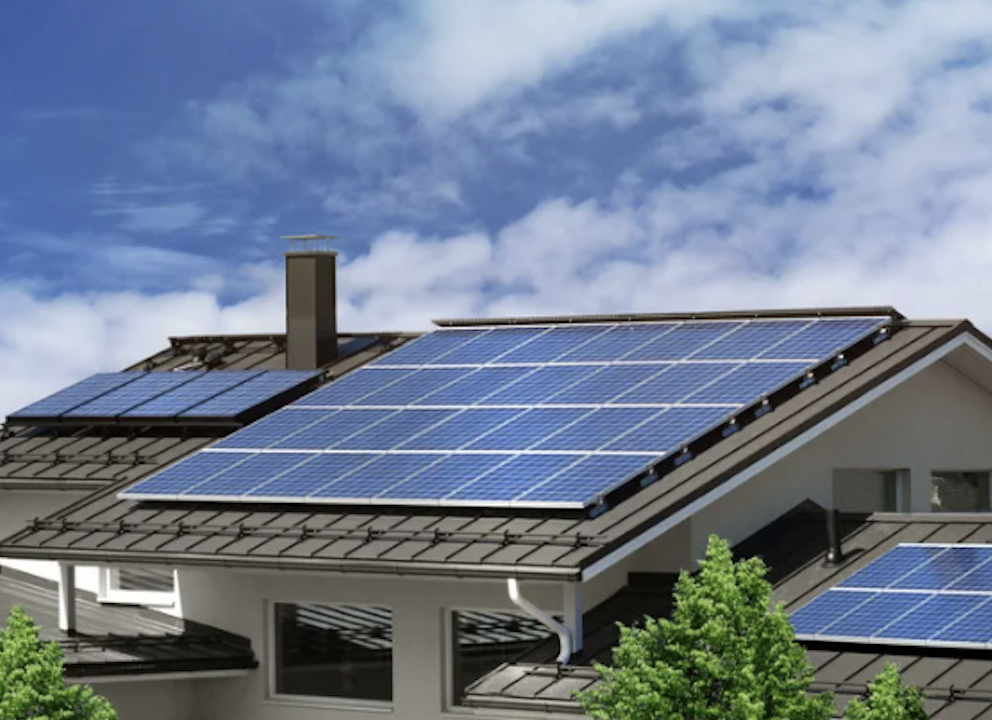
Step 1: Site inspection and system design
The first step is a detailed property assessment. Your installer will assess both your roof and electrical setup to design a system that works for your home and your energy goals. This assessment can be done in-person during a site visit, or remotely via phone consultation with photos of key areas like your meter board, potential inverter and battery locations, and roof access points.
They'll assess:
- Your roof's size, pitch, orientation and any shading issues
- Safe locations for battery installation (ideally cool, dry, and accessible)
- Switchboard condition and space for required safety devices
Pro tip: Think about sizing a battery for automation from the start. A battery that just sits there is missing 80% of its earning potential.
Step 2: Approvals and paperwork
Before installation, several approvals and forms are required. A good installer will manage most of this for you, but it's worth understanding what's happening behind the scenes.
This typically includes:
- STC paperwork to claim your solar rebate (completed on installation day, though terms are usually outlined in your contract)
- Battery rebate applications, if available in your state (also processed on installation day)
- Strata or council approval if you live in an apartment or heritage-listed home (handled before the sale process begins)
What this means for you: The paperwork can take weeks, but it's happening in the background while your installer orders equipment. Don't stress - just make sure someone's managing it properly.
Step 3: Installation day
How long does it take to install solar panels and a battery? For a typical home, one to two days.
On installation day, your installer will:
- Install the solar panels according to the pre-approved design (any changes to this design should be discussed and approved with you first)
- Install the inverter (often near your switchboard or battery)
- Mount the battery in the agreed location and connect it to your home's electrical system
- Configure any backup circuits if you've chosen blackout protection
- Set up your monitoring app and run full system testing
A high-quality install will be neat, safe, compliant, and designed to last for decades. If it looks messy or rushed, speak up.
Step 4: Metering and grid integration
After installation, your system can't start exporting to the grid until it's officially approved and metered. This is where things can get a bit slow.
This step includes:
- Final system testing and a Certificate of Electrical Safety
- DNSP approval (which may involve a remote or on-site inspection)
- A meter upgrade or reconfiguration by your energy retailer
Once that's done, your solar installation is fully operational, and your battery can start charging and discharging automatically.
The reality check: This step can take weeks or even months in some states. It's frustrating, but normal. Your installer should keep you updated on progress.
Step 5: System handover and optimisation
You should receive a full handover pack that covers both the solar and battery systems. But here's where most people stop, and miss the biggest opportunity.
Your handover should include:
- Login details for your monitoring platform
- Clear instructions for shutting down or restarting your system
- Warranty documentation for your panels, inverter, and battery
- A walkthrough of your backup setup (if applicable)
But here's what most installers won't tell you: Your battery is now just an expensive storage device. To turn it into an earning asset, you need automation that trades your stored energy when prices are high and charges when they're low.
That's where Amber comes in. Our SmartShift automation takes over from day one, charging from Solar and if there's not enough around, charging from cheap, green power in the middle of the day (sometimes even getting paid to charge your battery) and selling when prices spike.
How solar panels and batteries actually work together
If you've been wondering how this all fits together - here's the reality:
Solar panels generate electricity during the day and feed it into your home. Whatever you don't use immediately goes into your battery or exports to the grid, and then normally exports to the grid for a measly feed-in-tariff (FiT).
But here's the thing: solar generation peaks at midday when electricity is often cheapest.
Your battery could be charging with cheap grid power during the day when renewables flood the grid and selling that stored energy during the evening peak when prices are highest.
That's the difference between a battery that just stores your own solar (break-even at best) and one that actively trades energy for profit.
FAQs
Can I add a battery later?: Yes - many homes start with just solar and add a battery later. But installing both at once is usually more cost-effective and gives you more automation options from day one.
Can the battery power my whole house in a blackout?: Most residential systems back up only selected circuits (fridge, modem, lights). Full-home backup requires a larger battery and additional wiring - and it's expensive for something you might use once a year.
Where's the best place to install a battery?: A garage or shaded outdoor area is ideal. Avoid direct sun, keep it accessible for maintenance, and make sure there's good ventilation. Check out the Electrical Regulatory Authorities Council (ERAC)’s Battery Energy Storage System Installation requirements here.
When will my battery start paying for itself?: Most batteries nowadays pay for themselves in under 10 years. With Amber's automation, this could be considerably less.
The real value comes after installation
Here's what most guides won't tell you: installation is just the beginning. The real value - the earnings, the bill reductions, the faster payback - comes from how your battery is used after it's installed.
With Amber's wholesale pricing and SmartShift automation, your battery becomes an active participant in the energy market, buying low and selling high while you get on with your life.
But you also want to consider long-term support. What happens if you experience faults with your battery? Will your installer still be around in 10 years? It's sometimes worth paying more for well-known brands with Australian offices and support, as well as installers who will be around long-term to service your system. Batteries are complex systems that require licensed electricians who know what they're doing to maintain them properly.
When choosing your installer and equipment, consider long-term support alongside upfront costs. Look for well-known brands with Australian offices and installers who'll be around to service your system properly - because batteries are complex systems that benefit from expert maintenance over their lifespan.
But here's the exciting part: with the right automation, your battery transforms from an expensive storage device into an earning asset that works around the clock to optimize your energy costs.
Want to see how much your battery could actually earn? Try our ROI calculator and see the difference automation makes.


